Click here for Git command cheatsheet
Installing Git
Download the Windows Git client from here . If you cannot download Git for whatever reason, version 2.26.0 is kept local here. Once able, it is recommended to update to the latest version.
Once downloaded, run the installer with administrator rights and proceed through the installer as below. Note: Feel free to choose your preferred option for the editor. VSCode is a user friendly and popular option.
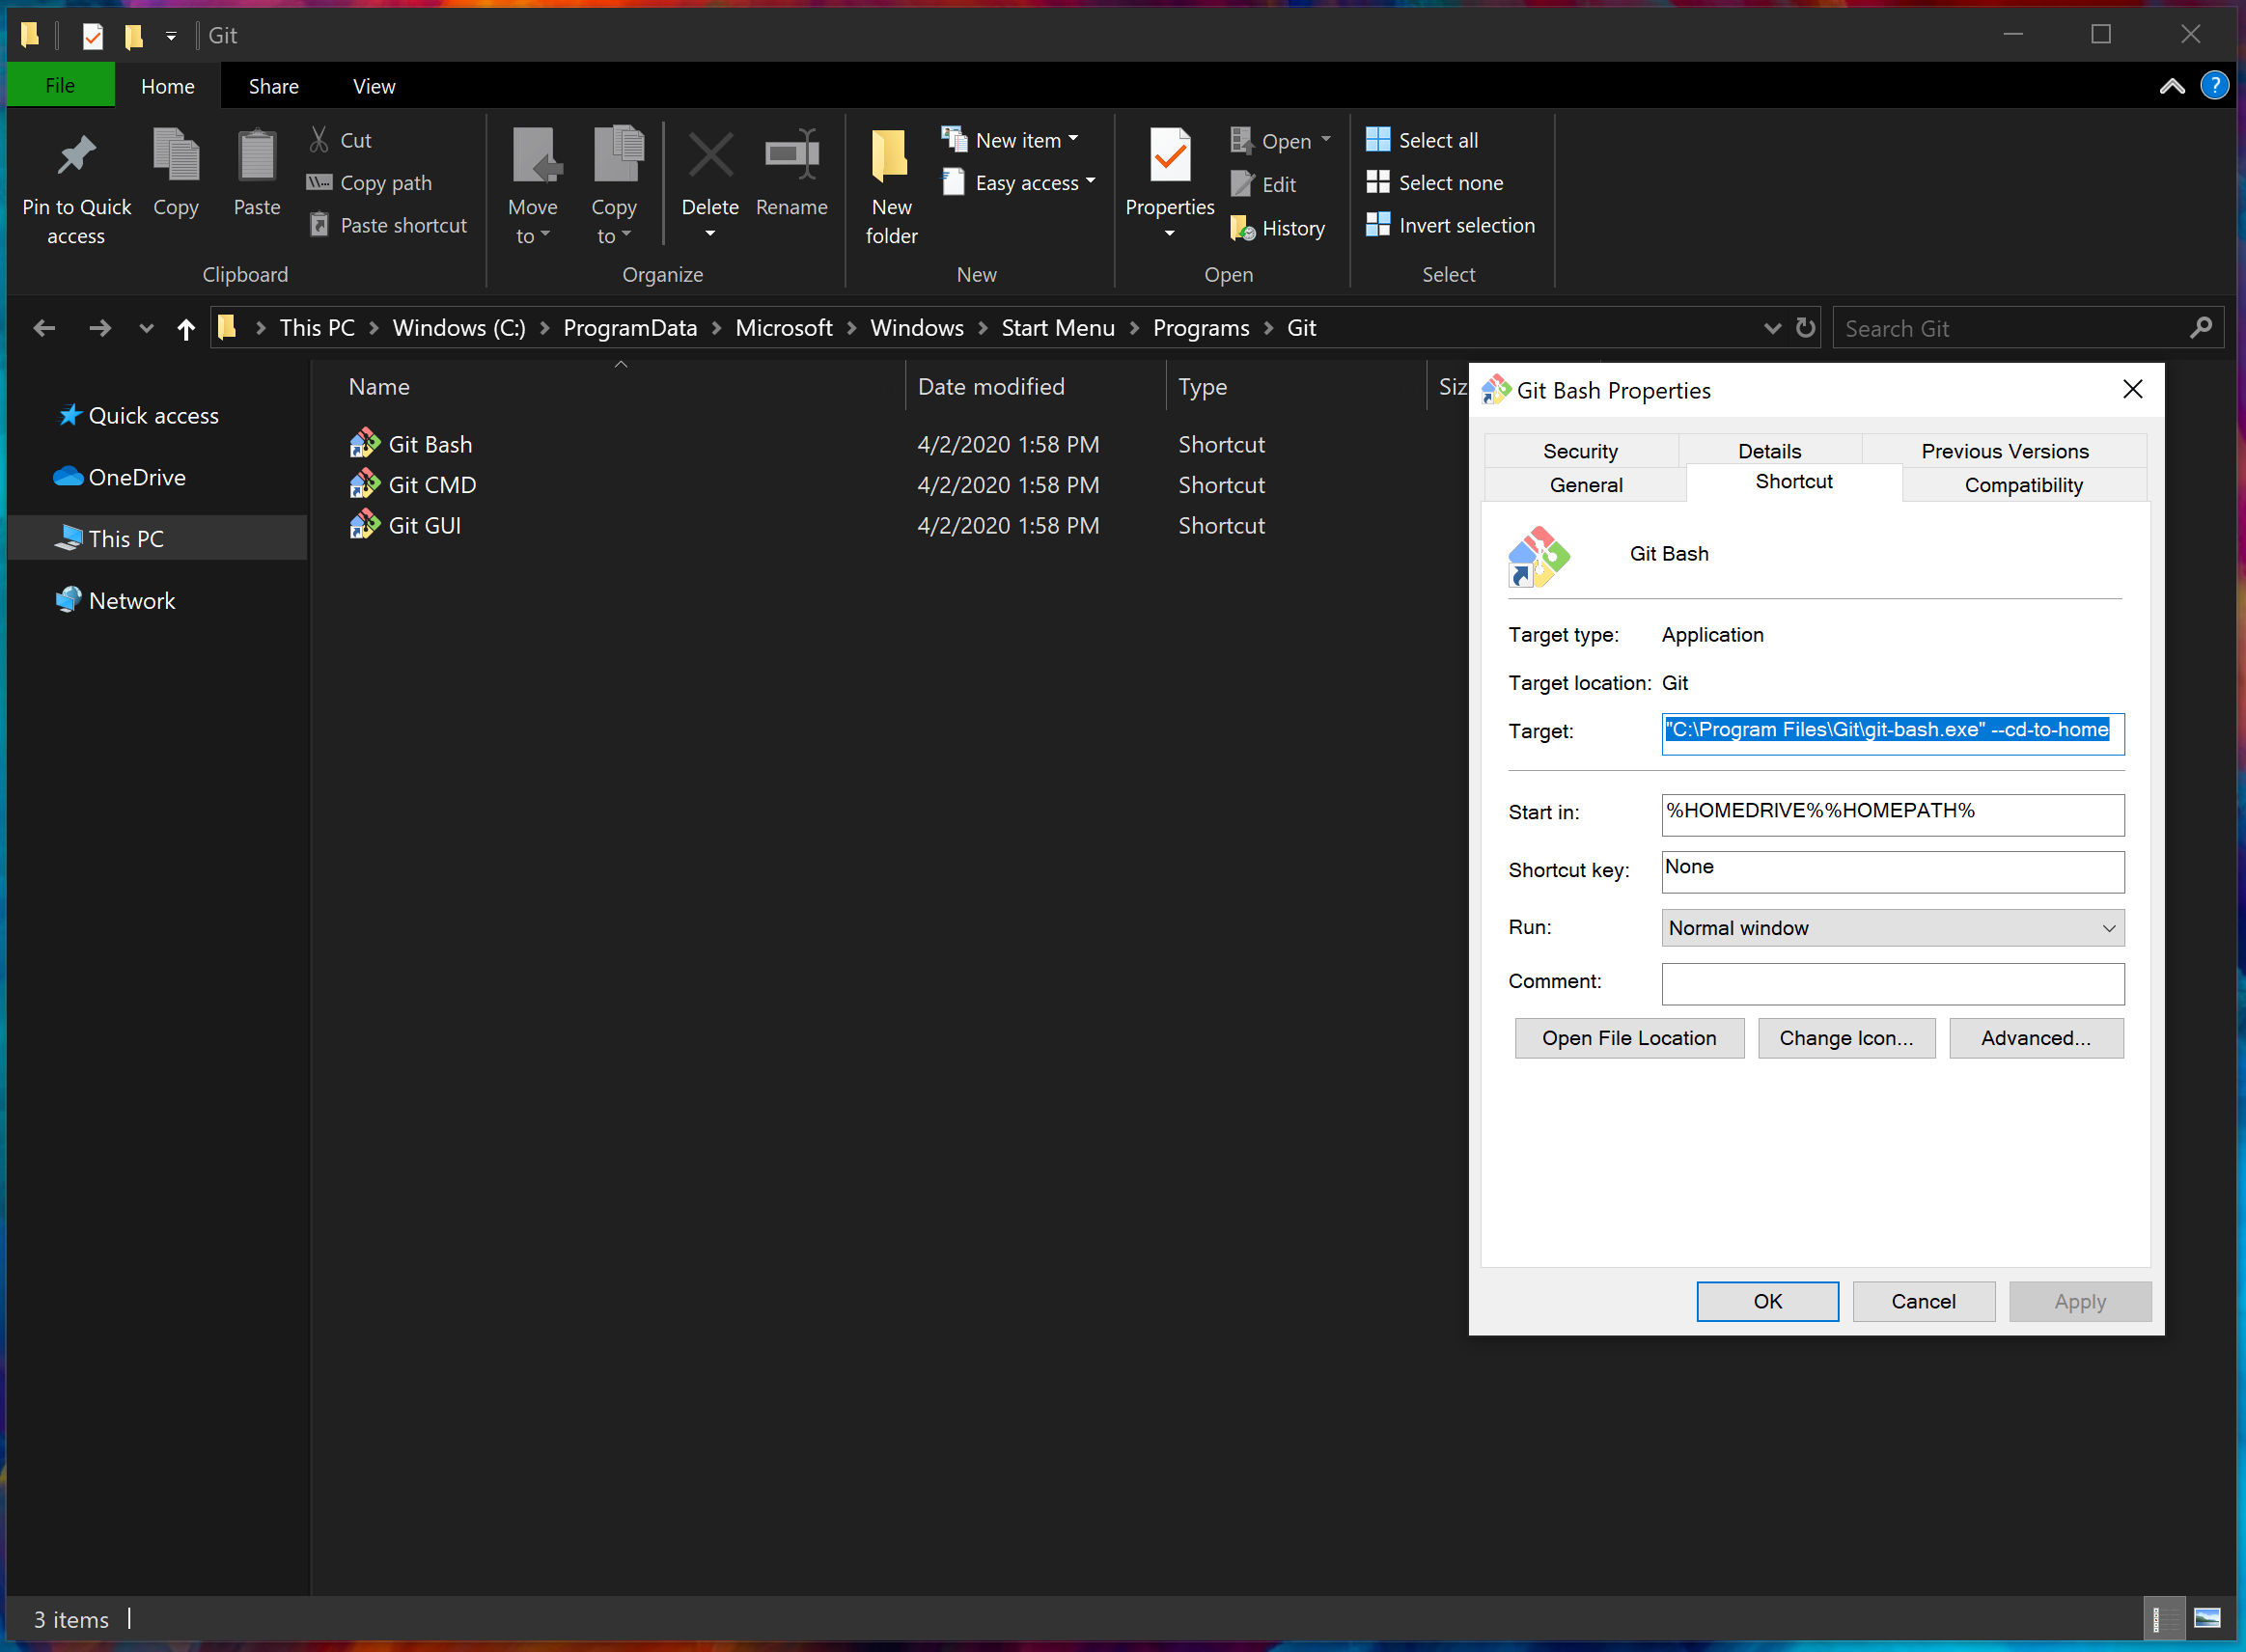
Once the installer has finished, we recommend setting the Git Bash to start up in your home directory. This is accomplished by navigating to the shortcut properties, and appending --cd-to-home after the last quotation mark in the Target field.
Getting Started
The installer creates two versions of git: Git Bash, and Git CMD. This guide will focus on Git Bash, which tends to be more reliable, and allows for advanced usage.
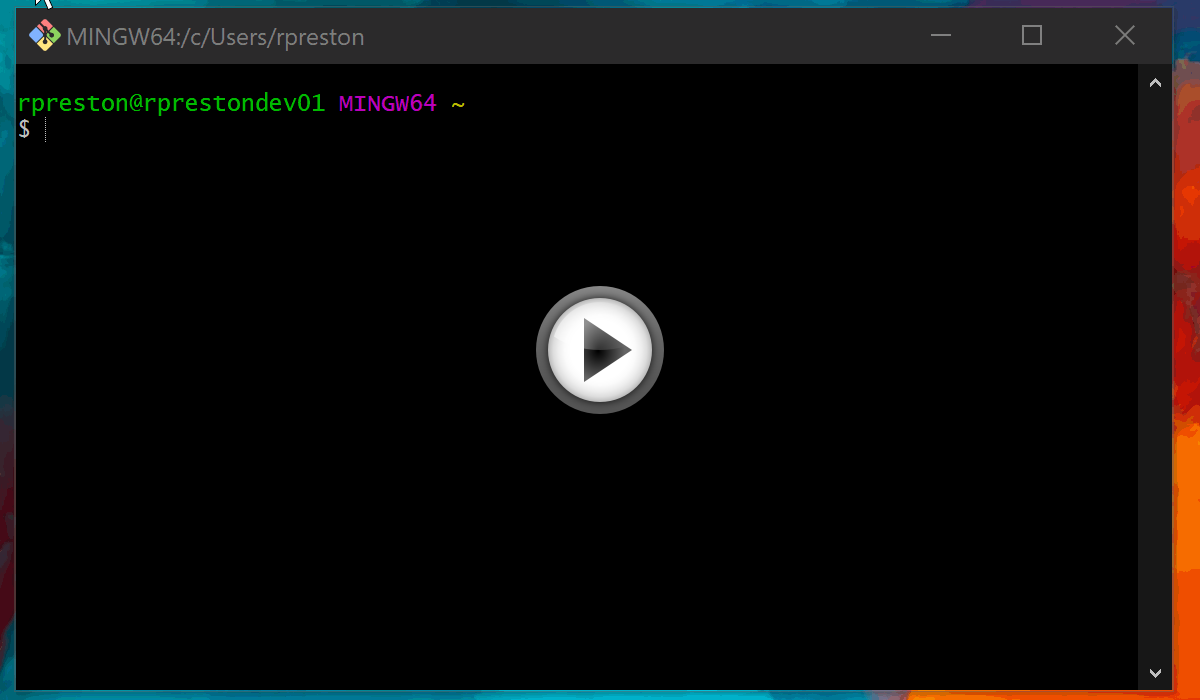
If you followed all of the steps in Installing Git, then when you open Git Bash it should default to your home directory. (On Windows this is normally C:/Users/YourUsername/)
First step is setting up your name and username in git. So open Git Bash, and then enter the two lines below, replacing the NAME and EMAIL with your information.
                    git config --global user.name NAME
                    git config --global user.email EMAIL
Once that's complete, you'll want a directory to store all your repositories in. This can be created from the command line using the mkdir command.
You can see all the files and folders in the current directory with the ls command. Then, you'll want to go into the newly made folder using the cd command.

Creating and Using Repositories
Setup a Local Repo
To start, you'll want to make a local repository. So, in Git Bash, navigate to the folder we made for repositories using cd. The make a new directory and open it using mkdir and cd.
It's just a blank directory, right? To initialize it as a git repository, you'll want to enter git init on the command line while inside the folder you want as your repository.
Next you'll want to add a gitignore file. There are templates you can find on google for whatever specific language you're working in, but the purpose of the gitignore file is to tell git which files it should not track. These files are normally things like build intermediate and output files, as well as any user specific option files or automatically generated files. To add a blank file from git bash you can use the touch command. Some template .gitignore files can be found on the Resources page.
As a note, if you can see your gitignore with a normal ls command, then it's not in the right format. If that's the case then use the following code snippet to to try to correct it. Fill in GITIGNORECURRENT with the name of your gitignore file as seen with the ls command.
mv GITIGNORECURRENT .gitignore
Next step would be to add a README file to your repository. A template file you can copy and utilize is here. Adding a readme yourself uses the touch command, as used with the gitignore above.
Committing Your Changes
The next step is to commit these changes to your local repository using git add to stage them and git commit to commit or save them. If you want to see the status of changes in your repository, you can use git status.
The specific command git add . will add all untracked files to your staging to commit. Additionally, the -m option used for git commit will allow you to write your commit messages inline. Otherwise it will open the editor you selected at install.
Interacting with Remote Repositories
Next up is remote repositories. A remote repository could be any repository that is not your "local" respository. A remote repository is basically a pointer to another instance of the repository, and could even be on the same machine!
Create a Remote Repo

To link to the remote repository that would be your "originator" repository, you would run the following command in git bash in your local repository.
git remote add origin REMOTE_URL
This command says to add a new remote repository link named "origin" at the location "REMOTE_URL". This sets the link from the local repository. The next step is then to complete a first push to the empty remote repository.
This first push of any new local branch is different from normal push and pull behavior described further down, because it sets up tracking linking to the remote repository.
git push -u origin master
This command tells git to push the changes from your current local version of the branch "master" upstream to the remote repository "origin" which will upload your changes, and setup this branch on the remote repository to match your local version.
Cloning a Remote Repo
Cloning a repository by comparison is relatively straightforward. You get the link to an existing repository, whether that is on the local machine or a github server makes no difference except in how you obtain the link. For github you would go to the repository's page and press the "clone" button on the right hand side, which provides a copy-able link.
Once you have your link, in git bash, navigate to the directory where you would like to place your repository directory (i.e. your "Repos" or "Source" folder), and run the following code snippet, replacing "REMOTE_URL" with the repository link.
git clone REMOTE_URL
This will create a new folder in your current folder that has the repository name. Navigate into that folder, and you're ready to start working.
Push and Pull Updates to Remote
Once you've set up your remote repository, either by creating or cloning, you can start working. The next step is to stay in sync with the remote repository via pushing and pulling.
Pushing is the act of updating the remote branch with any changes you have commit on the local branch. Keep in mind that if the remote branch has changes that you do not have locally integrated, the push action will fail. The command to push is:
git push origin master
Where "origin" is the remote repository and "master" is the remote branch to push to. Realize that if you have synced your current branch and repository to upstream using the -u from earlier, you can simplify this command to simply be git push and get the same behavior.
Pulling is the act of updating your local branch with any updates that are on the remote repository. When you pull git will automatically try to merge the remote updates with any changes from the remote branch using internal difference logic. If you have any changes that have not been commit that would be overwritten, git will instead cancel the pull, and tell you to either commit or stash those changes before pulling. If you have changes that you have commit, git will try to automatically merge those changes. If both your local commits and the remote commits change the same section of code, git wil place labeled versions of both code, and ask you to review the files, set them up with the correct version, and then commit the changes as part of a manual merge commit. The command to pull is:
git pull origin master
Where "origin" is the remote repository and "master" is the remote branch to pull from. Realize that if you have synced your current branch and repository to upstream using the -u from earlier, you can simplify this command to simply be git pull and get the same behavior.
Note: Best practices on pushing and pulling in a project where multiple people are making changes is to use branches to keep your work separate, and only merge into the main branch when the changes from the side branch have been completed. If major changes to the primary branch occur while still working on the side branch, these changes should be pulled into the side branch and integrated locally, but this will keep from needing constant small merges and push conflicts.
Best Practices
Read Me Files
It's recommended that your source code include a README.md markdown file, which contains pertinent information to the logic and build requirements for the source code. If it is a markdown file, then it will also display with all formatting on the main page for that repository on our git server.
A template README that lists important and common documentation information is located here for your use.
A good reference for how to use markdown commands is here.